Showing posts with label Demo Battle. Show all posts

Wednesday, 23 December 2015

Lion Rampant Demo Battle - Set Up

Well finally enough troops are available to begin trying out the rule sets that I have acquired. First up will be the skirmish type rules of Lion Rampant. I have selected two 24 point armies, both made up slightly differently. First up is the Lancastrian force, made up of two units of Bill men and one unit each of crossbowmen, foot knights and mounted men at arms.

The whole Lancastrian force. Left to right Bill men (12 figures), foot knights (6), crossbowmen (12), Bill men (12) and finally mounted men at arms (6). The leader at the rear will have to be attached to any of the units and stays with this unit the whole game. He will replace one of the mounted men at arms.


Bill men and foot knights.


Crossbowmen and Bill men.


Mounted men at arms.


The Yorkist force is larger by one unit but the units are weaker than their opponents. They have two units of spear men (12 figures each) and archers (12), one unit of light cavalry (6) and one unit of mounted men at arms (6).


Yorkist left flank of one unit each of archers (12 figures) and spear men (12).


In the centre are the mounted men at arms (6), once again the leader figure will be attached to this unit requiring one figure to be removed.


Next up is another unit of archers (12) and spear men (12).


A unit of light cavalry (6) occupies the right flank.


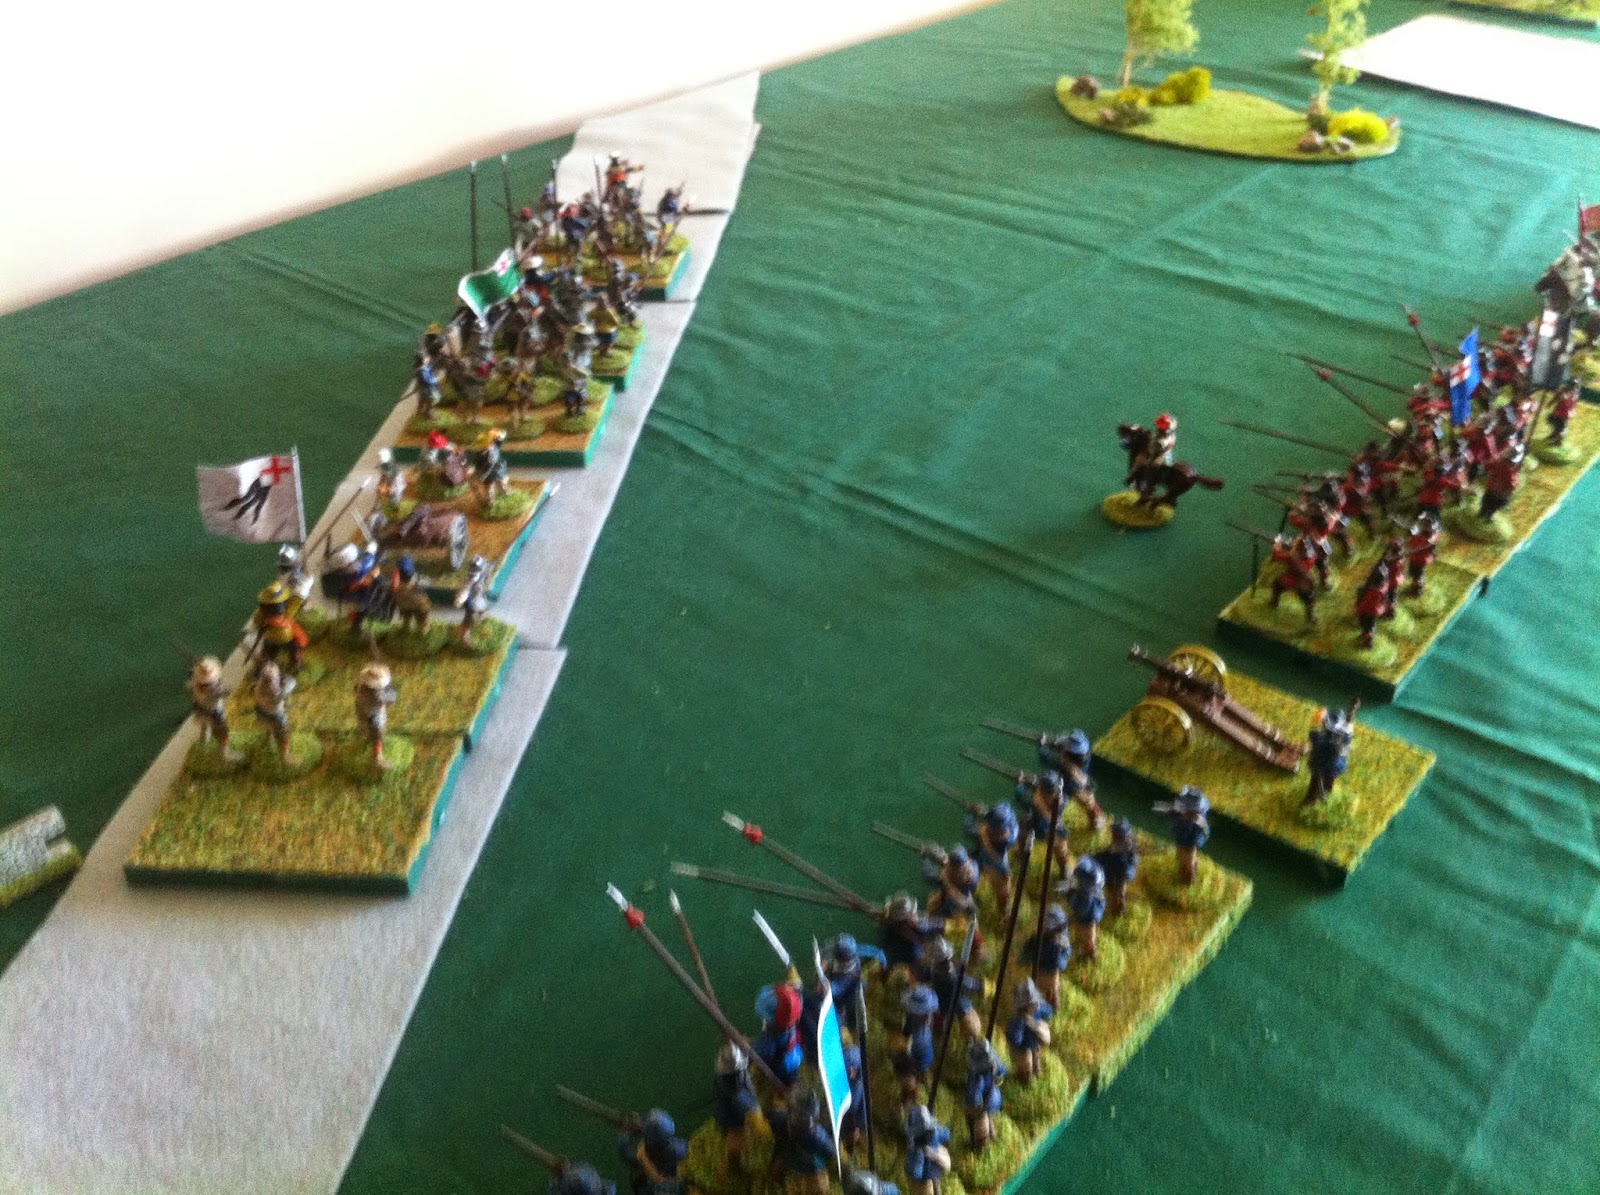
Lion Rampant calls for all figures to be based as single figures as each unit forms a loose group with no facing. All figures must be within three inches of a central figure and no unit may be closer than three inches to any other. This called for the neat rows of troops to be redistributed as follows.

The Lancastrians with their dice.


The Yorkists and their dice.


After repeated armed raids by Lancastrian troops into Yorkist lands, a flying force of light troops had been organised by the local Yorkist lord. On hearing that Lancastrians had once again entered his territory and were ransacking a village, he mobilised his flying column to drive off the Lancastrians. The latter, seeing the approaching troops, chose to deploy for battle.

The table is set, the troops are ready, the dice await!

I shall take lots of photographs of the battle and post them to the blog.

Wednesday, 14 October 2015

First trials of Lion Rampant + ACW Project update.

Well after completing 25 Union infantry units in 6mm, I decided to give my old eyes a rest for a couple of days before tackling the Confederates. As you can see in the following photographs, I have decided to give these four units Butternut uniforms, I think the colour is pretty close to the desired colour. It was after doing this that I decided, enough is enough, I am already at the half way point of the challenge I set myself, so a couple of days off to play are in order.

The first of the units in Butternut.


The other only have their hats painted as yet.


Work will  recommence on these boys this evening in the Paint & Chat on Table Top Commanders run on Google +.

As followers of my blog know, I have been painting up units for a War of the Roses campaign using the Lion Rampant rule set. I decided to set up a small battlefield on the table and just use a minimum of units to test out the rules and get used to the feel of them. My units are not individually based, apart from the horse units, but I can still use them easily enough as they are mounted in such a way to make them playable in numerous rule sets. I have based the 12 man units as follows ; 4,3,2,1,1,1, this will allow me to remove casualties as required.

So on to the skirmish:

Ploppy in the Wood is a small hamlet in Yorkshire, nothing of note happens there usually.


The main talking point of the day is the price of milk and wool, come to think of it, it is the only topic of conversation everyday!


The Main err.. only road is once again thronged with its usual amount of carts and pack horses.


However, today will be different, as two bitter rivals and their forces are about to clash in Ploppy Field.


The two forces face each other across Ploppy Field, the only obstruction being a rather large book!


Sir Ralph Lytton with his retinue.


A unit of Spearmen costing 3 points.


Sir Ralph himself leading a unit of Mounted Men at Arms. cost 6 points.


Finally, a unit of Archers costing 4 points. A total force of 13 points.


The retinue of Lord Sir Benedict Foxe.


Consisting of one unit of Bill Men costing 4 points.


Lord Foxe himself with his Mounted Men at Arms costing 6 points.


Finally a unit of Crossbowmen costing 4 points for a grand total of 14 points.

The forces are therefore evenly matched with three units apiece and points values of 13 versus 14. Ploppy Field has been cleared of any obstacles, as I just want to get used to the basic game mechanics in this skirmish using the Lion Rampant Rules.


I will keep a photographic record of the ensuing battle and post to the blog for those interested. Should be fun as this if my first ever battle using this rule set. I may make the odd error or two, but no matter, I should have the rules off pat by the time my campaign is ready to begin.

Tuesday, 17 February 2015

Demo Battle 3 - Now over.

Well the battle is now over, at the end of last turn, Brigadier Brown's forces were at a distinct disadvantage, one foot unit trapped in Hedgehog, another badly shattered. He took the decision to concede the victory to Brigadier Simpkins and the Royalist forces.
My thanks to Kurtus and Ringo for kindly taking leading their forces in battle and providing me with very useful feedback and recommendations regarding rule changes.

 The victorious Royalists jeer the enemy as they leave the field.
A new battle, with revised rules, will be fought in the near future.
 
With this battle now over, and the Quick & Dirty Rules needing a tweak to perform better the next time. Attention can be turn back to the English Civil War Diary, that is running on this blog. It has been neglected due to the fact that the skirmish at Balk Wood, needs to be fought out on the table, to allow me to write the next diary entry.
The table will be re  laid for this battle, which I will hopefully fight in the next couple of days. I shall take photographs, to include in the diary entry, at least I hope I can include them, we shall see.


Monday, 16 February 2015

Demo Battle 3 - Turn 6

Fast approaching the end game I feel, Parliament are really in trouble, with little chance of pulling the fat out of the fire.

Royalist foot advance toward enemy foot units, as the outnumbered Parliamentary horse throw themselves at the Royalist horse.
Forcing the Royalist foot into Hedgehog.
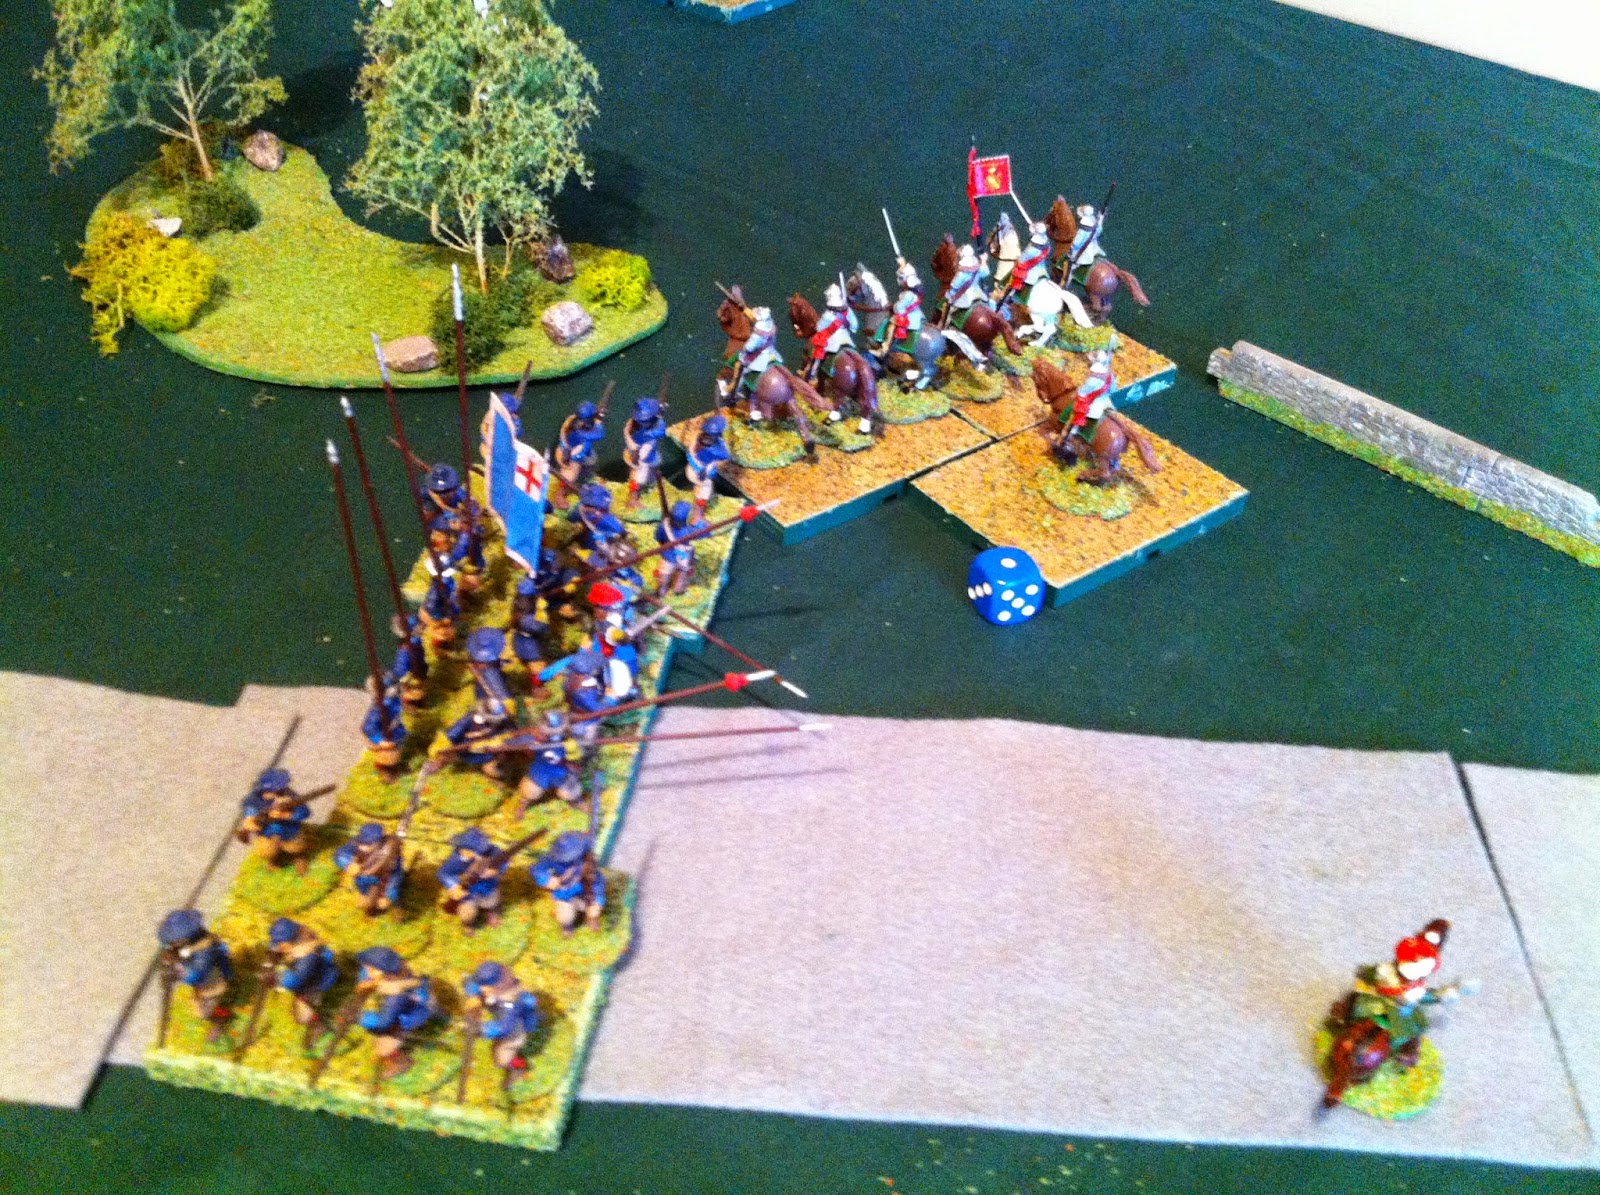
Meanwhile, in the centre, the Parliament foot continue to take punishing casualties.
 
Predictably, the outnumbered 4:1 Parliamentary horse are wiped out. Which will release this foot unit from Hedgehog, to continue their advance, and give the horse a free hand to make mischief.
 
With the Parliament horse now gone, one foot stuck in Hedgehog and the other severely mauled, it appears the day belongs to the Royalist forces. Still with half a horse regiment, an unscathed regiment of foot fast approaching the enemy foot units, and the second in very good shape. The end game fast approaches.

Sunday, 15 February 2015

Demo Battle 3 - Turn 5

The next turn of the battle was acted out on the table top this afternoon. Troops moving all over the field and only a minor amount of firing.

 Brigadier Simpkins alters his position to allow verbal communication with all four of his units. His horse have taken up a position beside the wall, still within 12 inches of the enemy foot, keeping them in Hedgehog.
 The parliamentary artillery has limbered up and will be ready to move next turn, whilst his horse are making in the general direction of the trees.
 In a bold move, Brigadier Brown, moves his depleted foot regiment 4 inches forward, this means they come into medium musket range and cannot themselves fire this turn.
 They pay the price with five more casualties.
 A general look at the battlefield, with all units in view.
 
The battle is still in the balance, but with the Royalist foot on the left now quickly approaching the centre to aid their comrades, and the Royalist horse pinning one of the Parliamentary foot in defensive Hedgehog formation, Brigadier Brown is going to have to work some magic to recover the situation.
 

Saturday, 14 February 2015

Demo Battle 3 - More Slashing and Hacking.

The battle continues, Brigadier Simpkin's Royalists having the initiative on this turn, can Brigadier Brown drive his forces on to victory?

 Enemy foot, face each other at maximum musket range.
 Royalist cannon prepare to fire.
 Regiments of horse, prepare for a second clash.
 Royalist left flank foot, continue to march to the centre.
 Parliamentary cannon hopes to get involved.
Brigadier Richard Simpkins encourages his men on.
 
 Royalist horse force the nearest Parliament foot into Hedgehog whilst clashing sabres with the enemy horse.
 Outnumbered but unbowed, the Parliament horse charge again.
Parliament cannon quickly unlimber and point at the Royalist horse.
 
 Brigadier Kurtus Brown encourages his men.
 Once again the Royalist horse inflict terrible casualties on the enemy.
 Failing the morale test, the Parliament horse fall back.
 Parliament foot exact revenge on the Royalist cannon killing two of the crew.
 Royalist foot inflict more casualties on their opposite number.
Royalist win initiative again, for the next move.
 
The battle is now entering a critical phase, both brigadiers have their work cut out, the decisions they make will decide the battle.