Monday 31 August 2015

The Battle of Blackwater Creek - Opening Moves.

Carrying on my ACW battle from the last entry, I have taken some photographs of the opening moves.

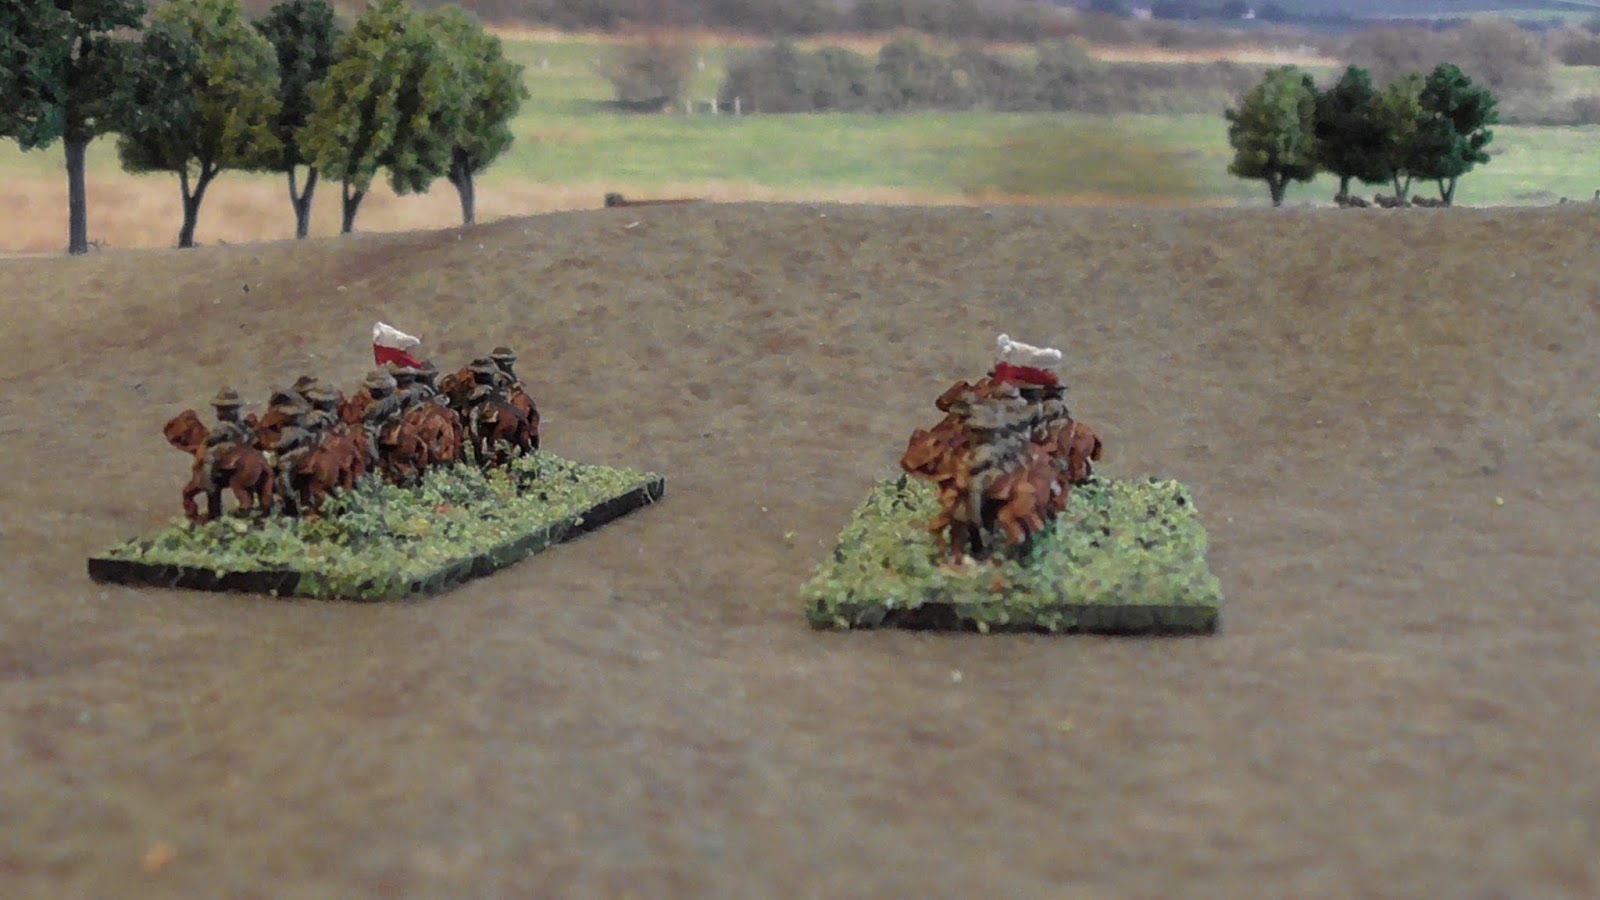
Scouting Confederate cavalry are the first to arrive at the bridge.

They survey the situation and send word back to command.


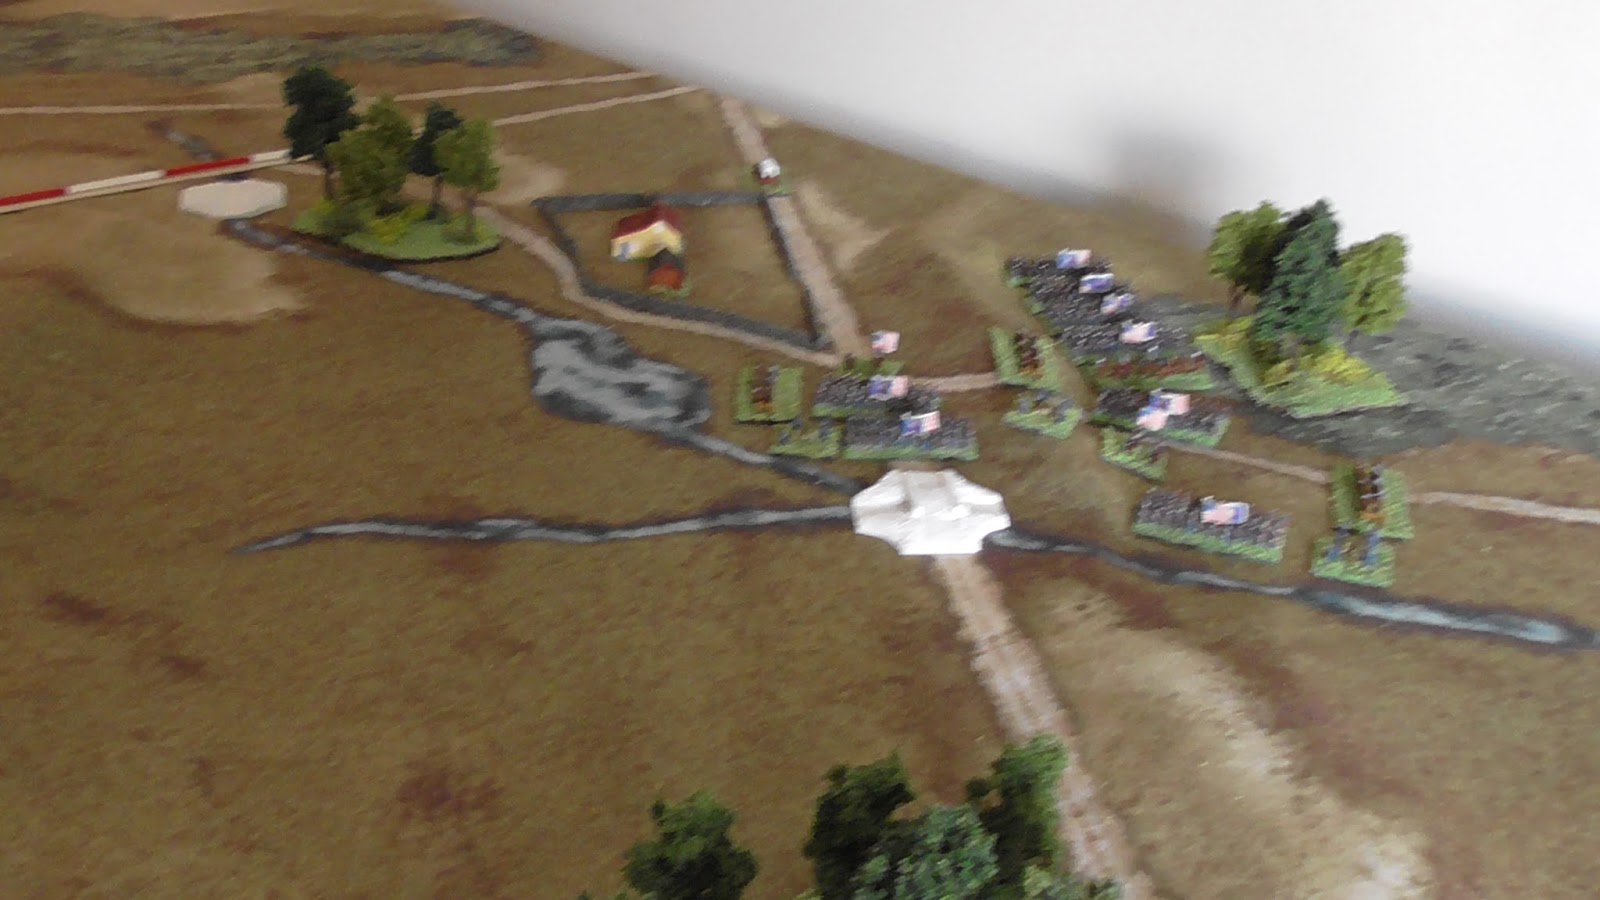
They can see the Union are in an impregnable position with supporting artillery.

The Confederate commanders arrive, ride up onto the hill and can see the Union forces before them.


The first regiments of the the two infantry brigades begin to arrive.


Being in their own back yard and knowing the area well, the Rebel commander dispatches his two regiments of cavalry to scout the ford and see what the Union have in place at that location.

Using the wood and then the ridge line for cover the cavalry make their way to the ford.


With the rest of the Division arriving, the Confederate commander makes a decision.


He orders the second brigade to follow the cavalry to the ford, units of artillery will follow when they arrive.


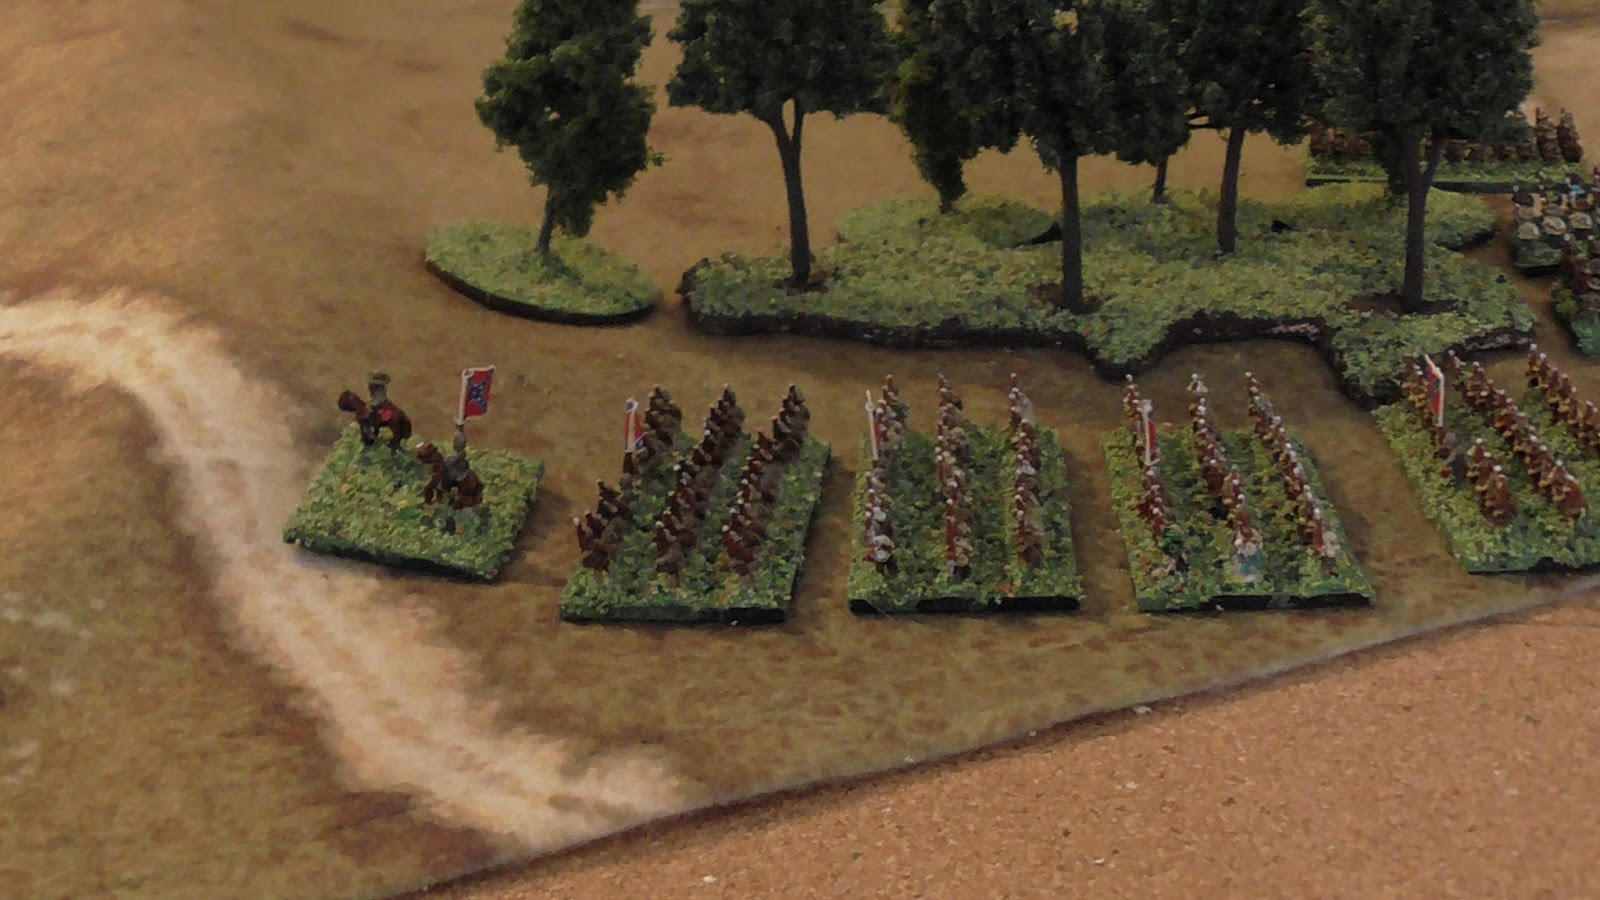
The Confederate column headed by the cavalry continue to move along behind the cover of the ridge.


Their movements masked by the ridge leave the Union Commander blind as to what is happening.


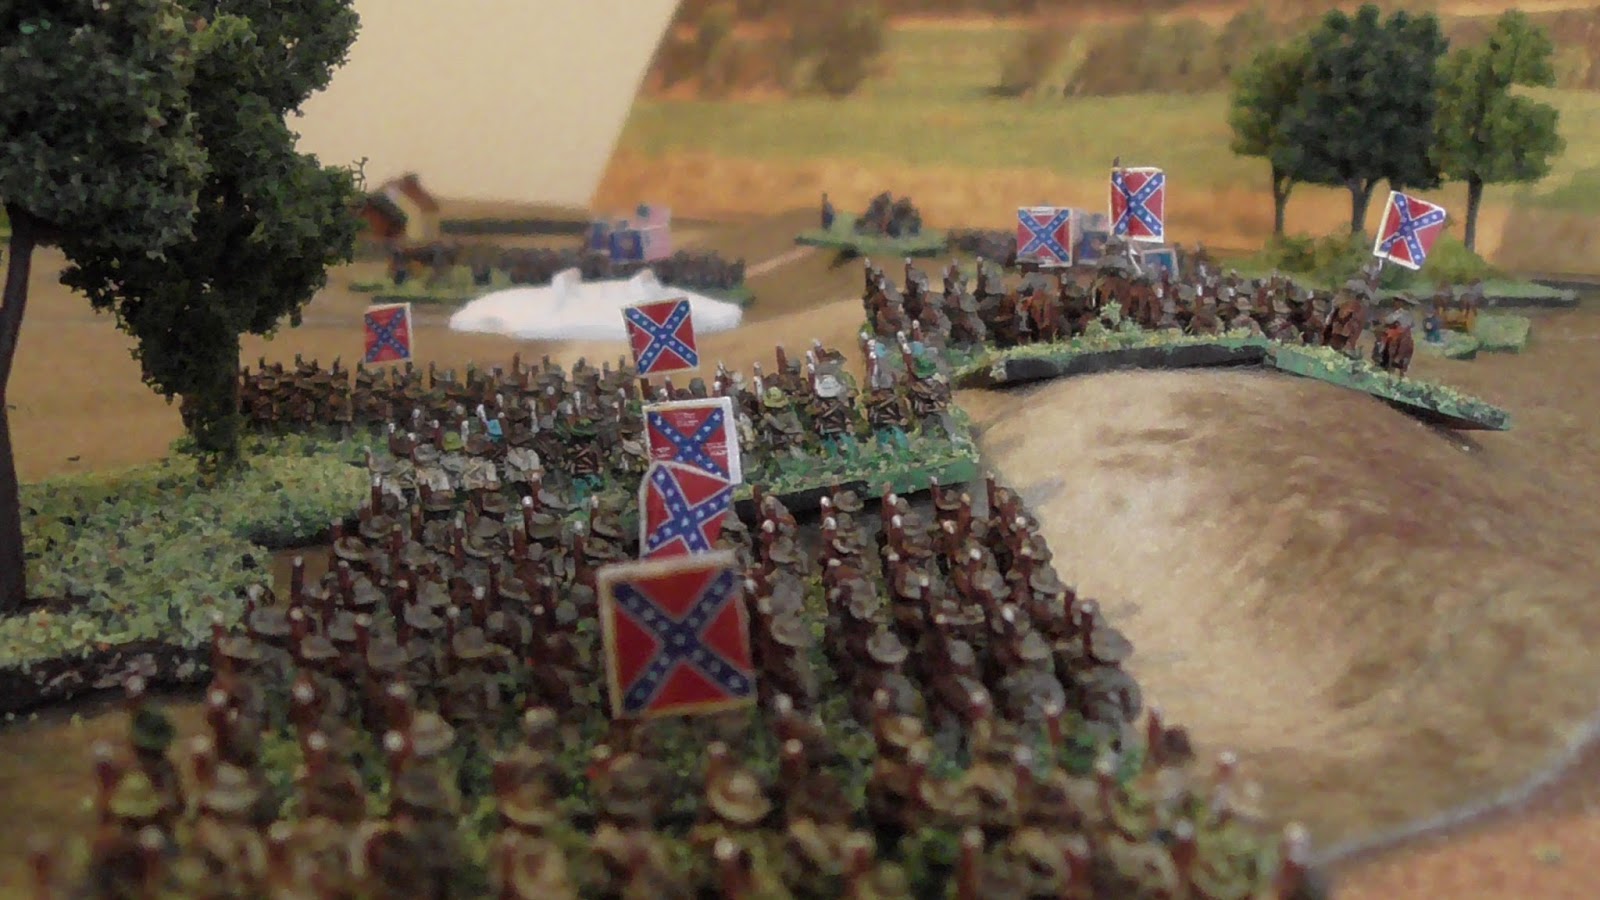
As the second brigade follow the cavalry, the Rebel commander deploys his infantry into line before the trees to fool his opposite number into thinking he is going to make an assault on the bridge.


The Confederate cavalry are amazed to find the ford undefended and no sign of any Union troops.


The flanking brigade of infantry hurry forward when word comes back from the cavalry.


The cavalry dismount and take up defensive positions to protect the ford, they are behind the Morgan Farmstead with its stone walls.


They cannot believe their good fortune.


The flanking brigade are now in sight of the ford and their dismounted cavalry colleagues defending it.


With the arrival of the artillery batteries, the Confederate commander keeps up the ruse and deploys a battery on the ridge overlooking the bridge, both the Union and Confederate cannon are currently just out of range.

The other two batteries are sent to join the flanking force.


Beginning to cross the ford.


Artillery batteries rushing to catch up.

So what seemed like an easy defensive position for the Union, has been turned without their knowledge, the battle should be interesting!

Hope you enjoyed this opening move post, not much action but hopefully you weren't bored too much. We shall see what happens over the coming days.

Friday 28 August 2015

Mounted Men at Arms progressing and an ACW battle in 6mm.

The Men at Arms are progressing nicely, though some of the armour pieces for the horses were a bit fiddly to attach and line up correctly. All that delicate paintwork in blue was all in vain as the armour covers up the whole lot. Never mind, I know it is painted underneath the armour. I have a busy day today and am away for the weekend, so little likelihood of them being completed before Monday. They do have a good selection of weapons to choose from and I am looking forward to affixing them, probably a mixture of lances, swords and an battle-axe. The horses just need some slight touching up of colours, where I have slightly caught them either with ink or another colour, plus the reins also need highlighting and finally the whole thing, once riders are attached, given a very thin coat of sepia wash to bring out the final detail.

Apologies for the smaller than usual photographs, for some reason I am unable to enlarge them as I normally can on the blog?


Having not had a battle on the table for a number of weeks, I decided to set up a fictional ACW battle. The table size is 3 x 3 feet and each side will have a division consisting of two infantry brigades of four regiments each, plus three batteries of artillery and a brigade of cavalry containing two regiments, each side will have two brigadier generals and one major general as the divisional commander.

Back story: It is the Spring of 1862, McClellan in charge of a now 80,000 strong Union army has his final parade through the streets of Washington and finally decides to use the force at his disposal. The young Napoleon, surprises everyone with his speed of movement, not least the Confederacy. He crosses the Potomac in two places, dividing his army equally and forces back the rebels on both fronts. The Confederate army, numbering some 35,000 men are also caught in two main groups, again roughly equal in size and so both forces are faced by Union armies that outnumber them 2:1. To maintain this unequal balance and allow him to destroy both rebel armies, McClellan having consulted his maps, sent troops to block any routes Confederate reinforcements rushing to help their comrades may take.

Which brings us to Blackwater Creek and bridge. The creek is not particularly wide, but it is deep and fast flowing, even more so with the icy waters from the Winter thaw coursing along between its banks. The only bridge for some 15 miles in either direction is located close to Henry Morgan's farmstead and any rebel troops hurrying North would have to cross that bridge.

The Union general had chosen his deployment carefully, the rebels would have to cross a narrow, well defended stone bridge, he could hold that bridge with a single regiment let alone a full division. He had questioned the Morgan family and they had confirmed that it was indeed the only bridge for many miles, they of course being proud Southerners, omitted to mention the location of a ford less than a mile down river, that would only be ankle deep! Well the Yankees had only asked about bridges hadn't they? The Union general commandeered the farm as his HQ and the Morgan's loaded some belongings into a wagon and headed out to stay with neighbours.

The battlefield looking North, a ridge line runs parallel with the road running South East - North West.


The road beside the wood that the Confederates would arrive down with the bridge, (unpainted in white) crossing Blackwater Creek.


The Union forces await in full readiness, two regiments of infantry blocking the bridge supported by artillery batteries on either side, a further brigade of infantry wait in reserve behind a ridge.


The Morgan farmstead, with the wagon carrying the farmer and his family moving away.


The ford (again unpainted in white) straddles the creek hidden by a wood.


The ridge running parallel to the road, this should play an important part in the battle.


Union artillery on the ridge overlooking the bridge.


Looking from South East to North West along the road with the stone bridge in the foreground, protected by Union troops and the Morgan farmstead in the distance.

 The left flank of the Union force.
 
Once again apologies for the smaller than normal photographs, I cannot alter the size for some reason.
 

So the table is laid, the Union forces are deployed and we await the arrival of the Confederate division. I shall play the game over the coming week, probably a couple of turns or so each evening. It is the joy and reward of spending so many hours painting, that you eventually get to put all those troops on a table, create a story and than fight the battle. What a great hobby.

Wednesday 26 August 2015

Progress on both the Mounted Men at Arms horses and the Campaign Map.

Continued to work on the horses yesterday and they are close to completion, apart from the armour. I show before and after the transparent ink is applied. I should have really done this prior to painting the fancy blue horse tack as it has touched it in places, but that can soon be put right. I have gone with a colour scheme to match the already painted archers, this will clearly show which faction the unit belongs to. I will then have two of my intended factions almost complete. I still need to purchase two boxes of  Men at Arms on foot, to give me some units of foot knights to bulk up each retinue and of course I still have two boxes of Mercenaries, as yet untouched.

 
Saddle cloths and some of the riding tack painted.


Three of the knights are wearing tabards over their armour, so I painted them up to march the archers.


Now with ink added for a richer colour to the horse's coats.


Hopefully, the camera shows the difference the ink makes.


Then the campaign, it has been going around in my tiny brain for a week or so, I did read a similar way of making a map on another blog so thought I would also give it a try. First of all using a pack of playing cards, I extracted the four Kings and 21 other cards at random. I then shuffled the 25 cards and laid them out in a 5 x 5 grid.


The red suits are Lords/Barons with Lancastrian sympathies and the black suits are Yorkists. The four Kings represent areas with a castle, giving me four major factions for the campaign, two of each persuasion. The cards came out pretty evenly spread of black and red cards and I am considering making some areas larger by incorporating picture cards of the same suit into single area. Such as the Lancastrian castle, denoted by the King of Hearts, has both the red queens taking up that whole corner, that would be a super estate, same for some of the other castles with picture cards adjacent to them. The other cards represent the value of the estate so an Ace is low quality, probably high moor land or similar whilst a 8 or 9 is an area rich in agriculture or similar.
The next task was to take the layout of he cards and create a table in Word, I than looked at a map and chose names of various small villages in the area, some are real and some fictional to use as the names of the areas. I also found a Medieval Name generator and used that to create the current incumbent of that region. Finally, depending on a regions wealth, the incumbent live in a Hall, Manor House, Fortified Manor House or of course a castle.

So below is the current map, top line highlighted in grey, is the name of the region, below it is the value of the land. Next come the current Lord followed by which of the two houses he nominally supports and finally his abode. Other information needs to be added of course but this will do as a starting point.


Thorngarth
Burn Howe
Garthdale
Flixthorpe
Stainby
12
4
7
9
5
Walter de Cobham
Richard Pierrot
Christopher Chamberlyn
Charles Hyde
Arthur Symons
York
York
York
York
Lancaster
Castle
Hall
Manor
Fortified Manor
Hall


Pickerton
Knapton
Egton Low Moor
Nether Silton
Witton
10
8
2
10
12
Esmour Talbot
Godfrey Lovell
Richard Wadham
Andrew Daye
Ralph Lytton
York
Lancaster
York
Lancaster
Lancaster
Fortified Manor
Manor
Hall
Fortified Manor
Castle


Leymoor
Hammerton
Wheeldale
Sailsworth
Hauxwell
10
12
10
3
5
Denys Sutton
Godfrey Howard
Edmund Dye
Ethelbert Fitzherbert
Stephen Boteler
York
York
York
York
Lancaster
Fortified Manor
Castle
Fortified Manor
Hall
Hall


Hutton Wiske
Foggerhill
Waplington
Langthwaite
Ellerbeck
3
4
9
1
10
Bernard Hache
Phillip Derring
Aubrey Cotterill
Gauwyn de Montecute
Luke Fonteyn
Lancaster
York
Lancaster
York
Lancaster
Hall
Hall
Fortified Manor
Hall
Fortified Manor


Kirbyholme
Colsterdale
Exelby
Rudston
Shefton
10
9
1
12
10
Reynard Vawdrey
Geoffrey Olyver
Elias Draper
Benedict Foxe
Thomas Renfry
Lancaster
Lancaster
York
Lancaster
Lancaster
Fortified Manor
Fortified Manor
Hall
Castle
Fortified Manor


So I am quite pleased with both the progress of the Mounted Men at Arms and of the abstract campaign map. I will hopefully do more work on both during today.