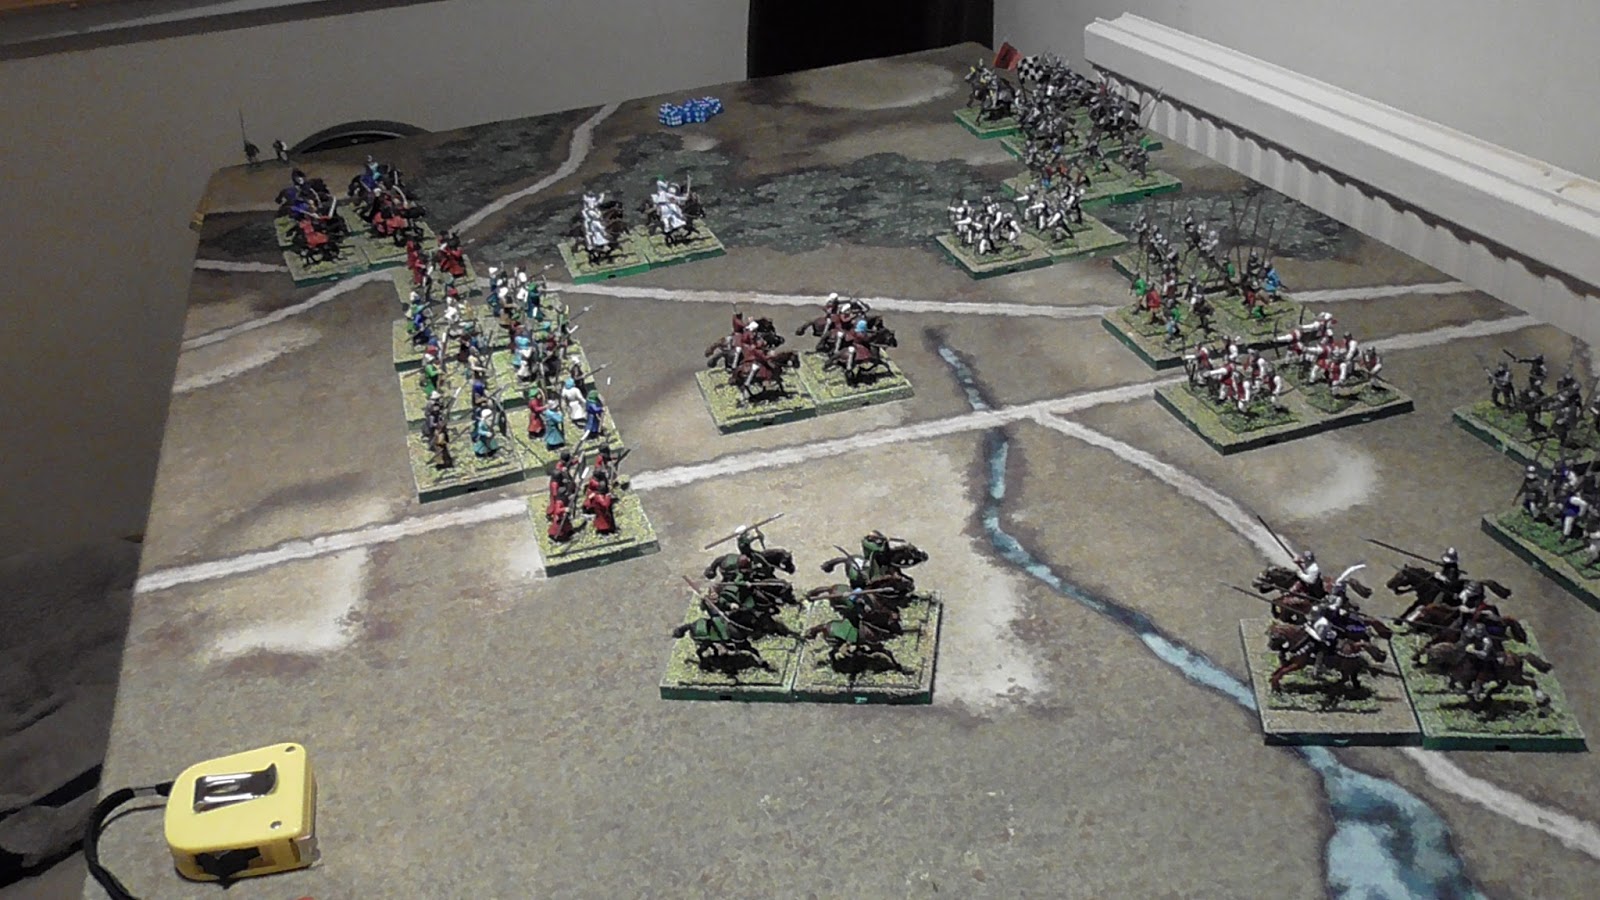
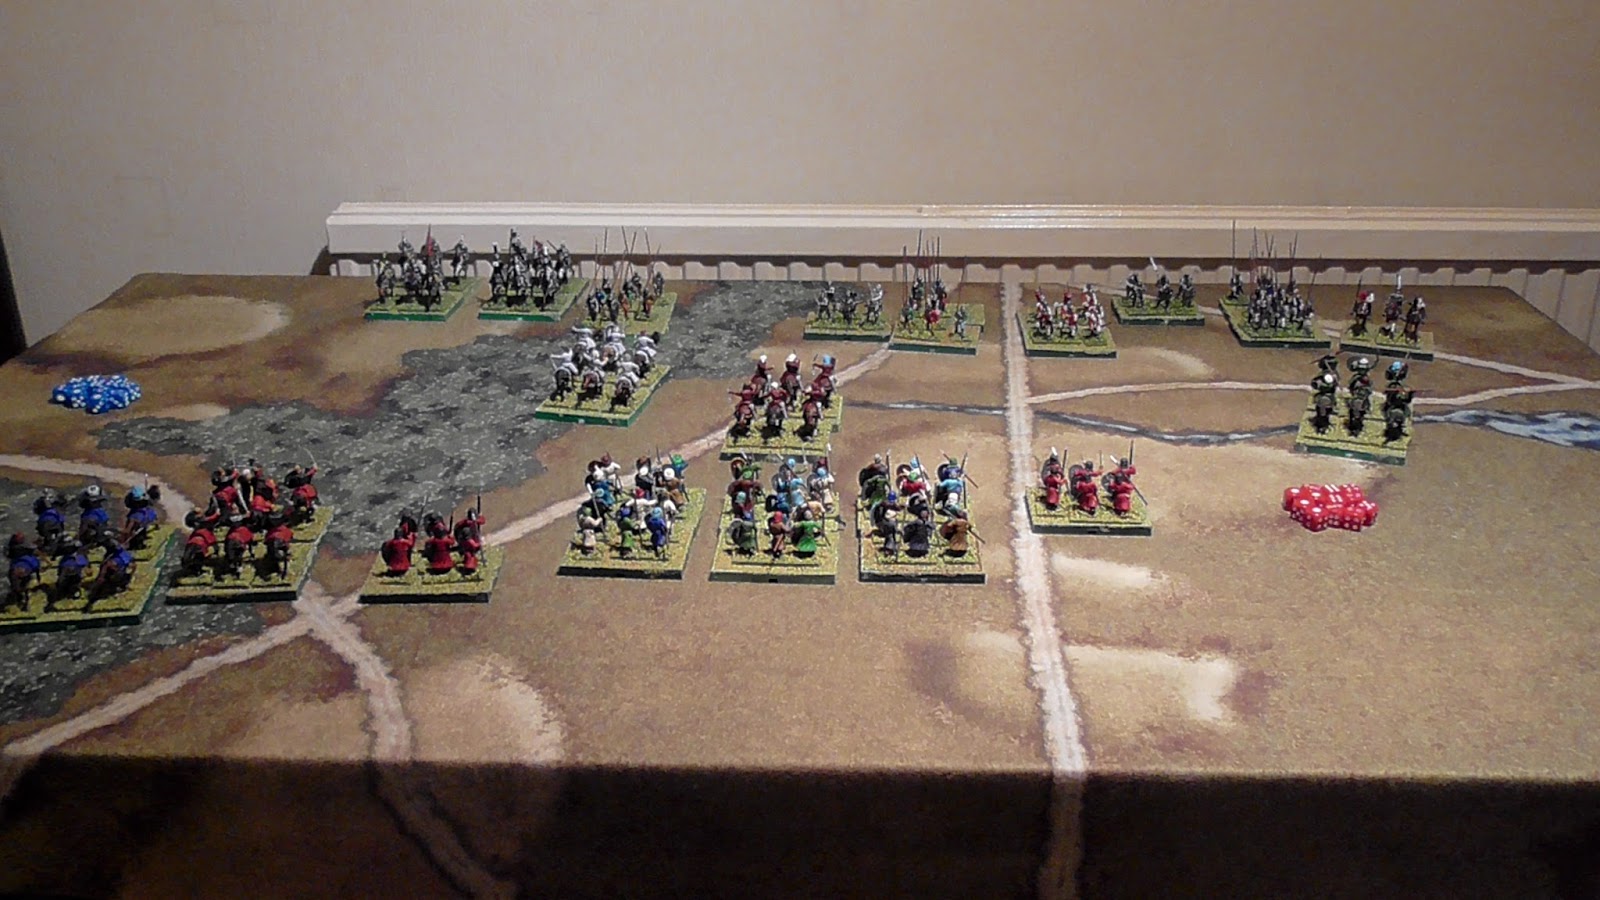
After yesterday's battle between the Eastern raiders and the village defenders. A larger battle today, double the size to ten stands each, I haven't bothered too much about points and have added pretty much what I wanted. Due to the small size table, I will convert from inches to centimetres too. It will look a little odd in 28 mm, but needs must.
After receiving a bloody nose in their attempt to raid a village, the Eastern raiders have returned, and this time they mean business! The leader has gathered a large army to teach the infidels a hard lesson. Expecting another attack, the Westerners also called to their lord for help in repulsing the threat. The lord gathered his forces and rode out to meet the challenge to his domain.
The table will be virtually devoid of scenics, there won't be any room! As you can see, the two forces fill up half of the table already.
The Western defending army comprises ten units.
As do the invading Easterners.
A breakdown of the Western Army. Two units of mounted men at arms with the general in the left most unit as well as a single unit of light cavalry.
Three units of spear men.
Two units of men at arms.
Two units of archers.
Breakdown of the Eastern Army. Two units of heavy cavalry. Saladin leads the right most unit.
Two units of mounted archers.
A single unit of mounted javelins.
Two units of elite heavy infantry.
Finally are three units of spear men.
The initial deployments.
The Westerners from left to right, Two units of mounted men at arms, spears, archers, men at arms, spears, archers, men at arms, spears and finally light cavalry.
The Easterners from left to right, Two unit of heavy cavalry, elite spears with mounted archers ahead, three units of spears with mounted archers ahead, elite spears and mounted javelins.
Facing off. The green patches on the left will be classed as difficult ground, reducing movement by half, the small stream on the right will have no effect on movement.
Right from the off, the Eastern light horse troops advanced as did the rest of the force. The Westerners advanced their archers and also the light cavalry.
Mounted javelins face light cavalry on the flank.
The two units of horse archers make hit and run raids on the enemy.
The spears lose a man.
As do this unit of archers.
The two unfortunates.
The mounted javelins score hits on the light cavalry, removing two casualties resulting in the unit being battered and forced to pull back.
In the centre, the horse archers continue to cause hits on archers and spears.
The dead pile grows, but it only contains Western troops so far.
The whole Eastern army continue to advance, whilst the Westerners are being pinned back by the enemy light troops.
Yet again the javelins rush in and reduce the light cavalry before pulling back. The tactic is working brilliantly all along the line with the mounted archers also causing losses and chaos.
The space in the centre was occupied by a unit of archers who were forced to rout from the field.
The growing pile of bodies still only contains Western troops.
The Westerners are still pinned on their start line by light troops as the Easterners heavy foot and horse continue to advance.
The light cavalry suffer again at the hands or rather the javelins, though they too now suffer a first loss.
Arrows pepper the mounted archers, causing a casualty as well as forcing them back with a battered marker.
In a disastrous turn for the Westerners, two units of spears, already forced to the back edge of the table, fail to rally after taking yet more hits and both rout from the field.
The dead pile now contains two units of spears, one of archers, light cavalry and a smattering of archers. The Easterners have just two casualties!
The mounted javelins finish off the light cavalry and bring the battle to an end, The Westerners are forced to concede the battlefield to the enemy.
The horse archers in the centre have been reduced to two figures as well as being battered, but it is too little too late.
The final dead pile, ignore the heavy cavalry at the bottom of the picture. A decisive victory for the Easterners who only lost five of their light troops.
I intend to re-fight this battle, but will swap out a unit of spears for more light cavalry. The lack of a skirmish line for the Westerners allowed the enemy light horse, archers and javelins, to cause casualties, battering and forcing back of units. They lost the battle before they could even get to grips with the enemy.
I did fight this battle on last night's Tabletop Commanders paint and chat if you wish to watch it in real time.