Union initiative.
Burnside's shattered brigade fall back from the Stone Bridge.

Porter's Brigade continue the attack and pour a volley into Jones' Brigade causing a loss of 1 elan.

Jones' Brigade are now down to 3 elan.

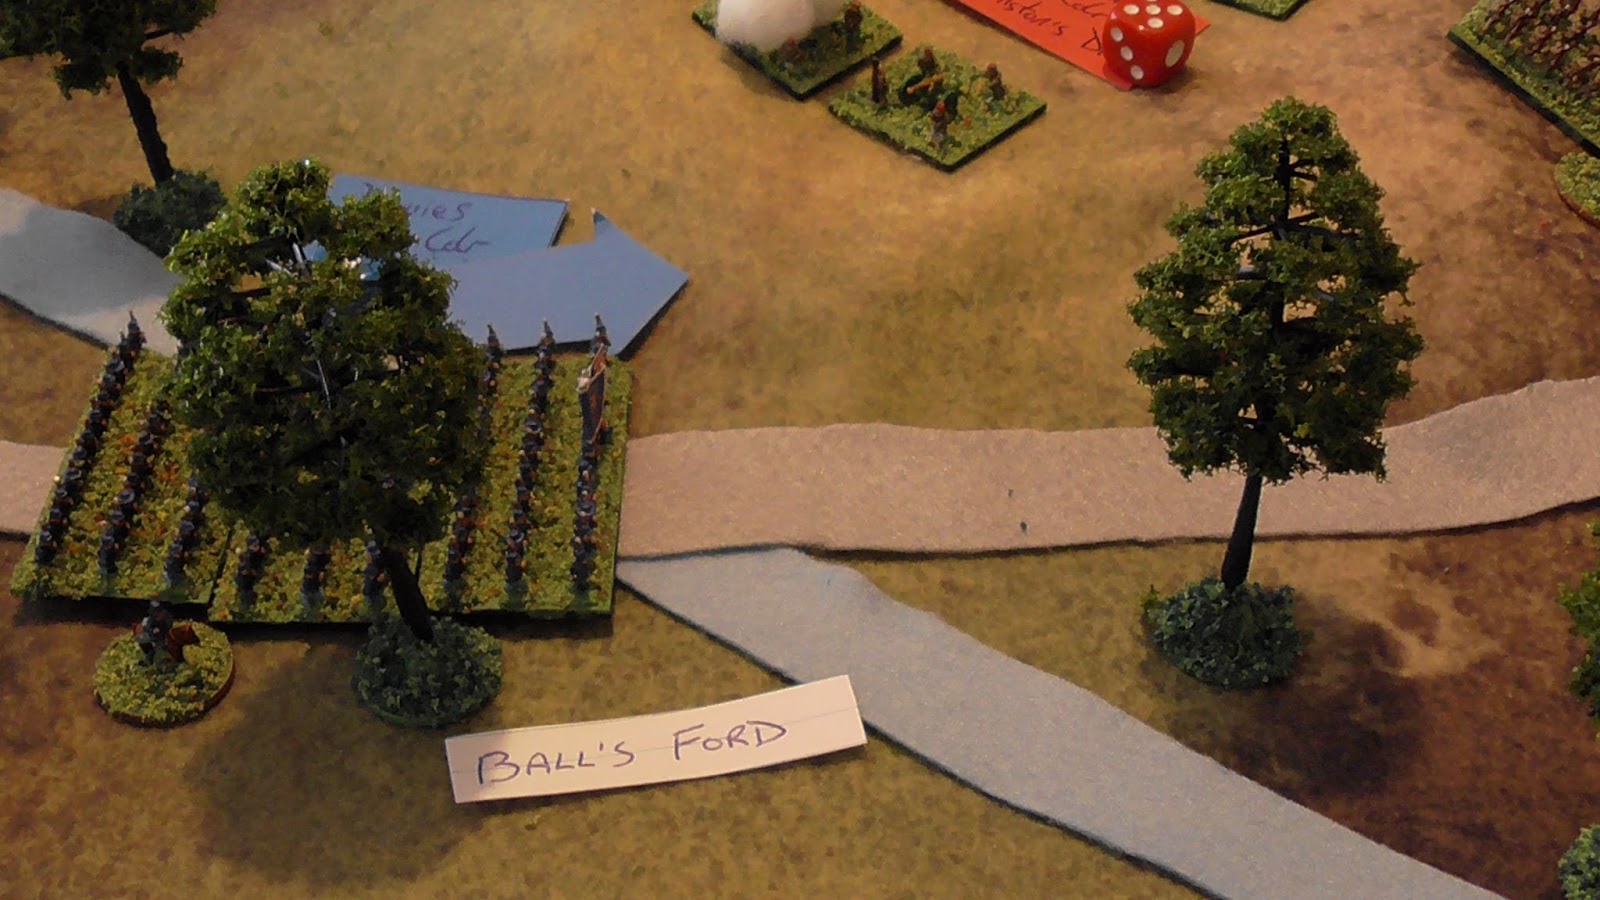
At Ball's Ford, Davies' Brigade once again charge Holmes' Brigade, though both are in a pitiful state.

The Rebel charge does enough and they not only push Holmes' Brigade back, the rebel unit routs, however with fatigue claiming another elan, the victorious Davies' Brigade now in sole control of the ford, are in no position to exploit their victory, being reduced to a single point of elan.
Across the field at Mitchell's Ford, Howard's Brigade splash through the ford.

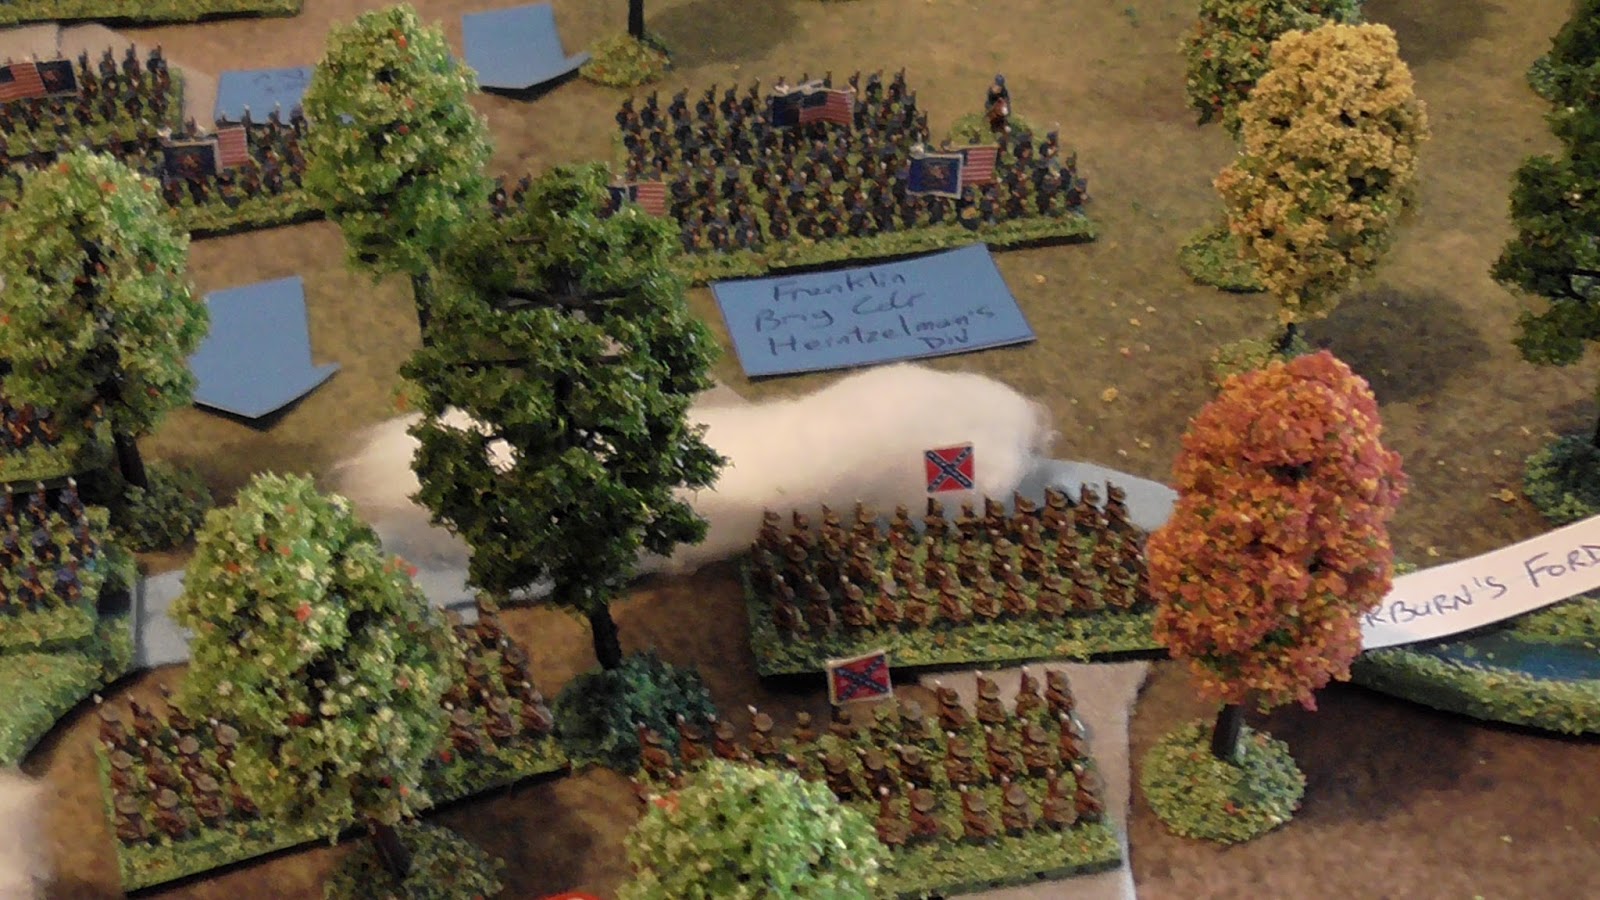
Whilst beside them, Franklin's Brigade loose a volley of musket balls into Bartow's Brigade.
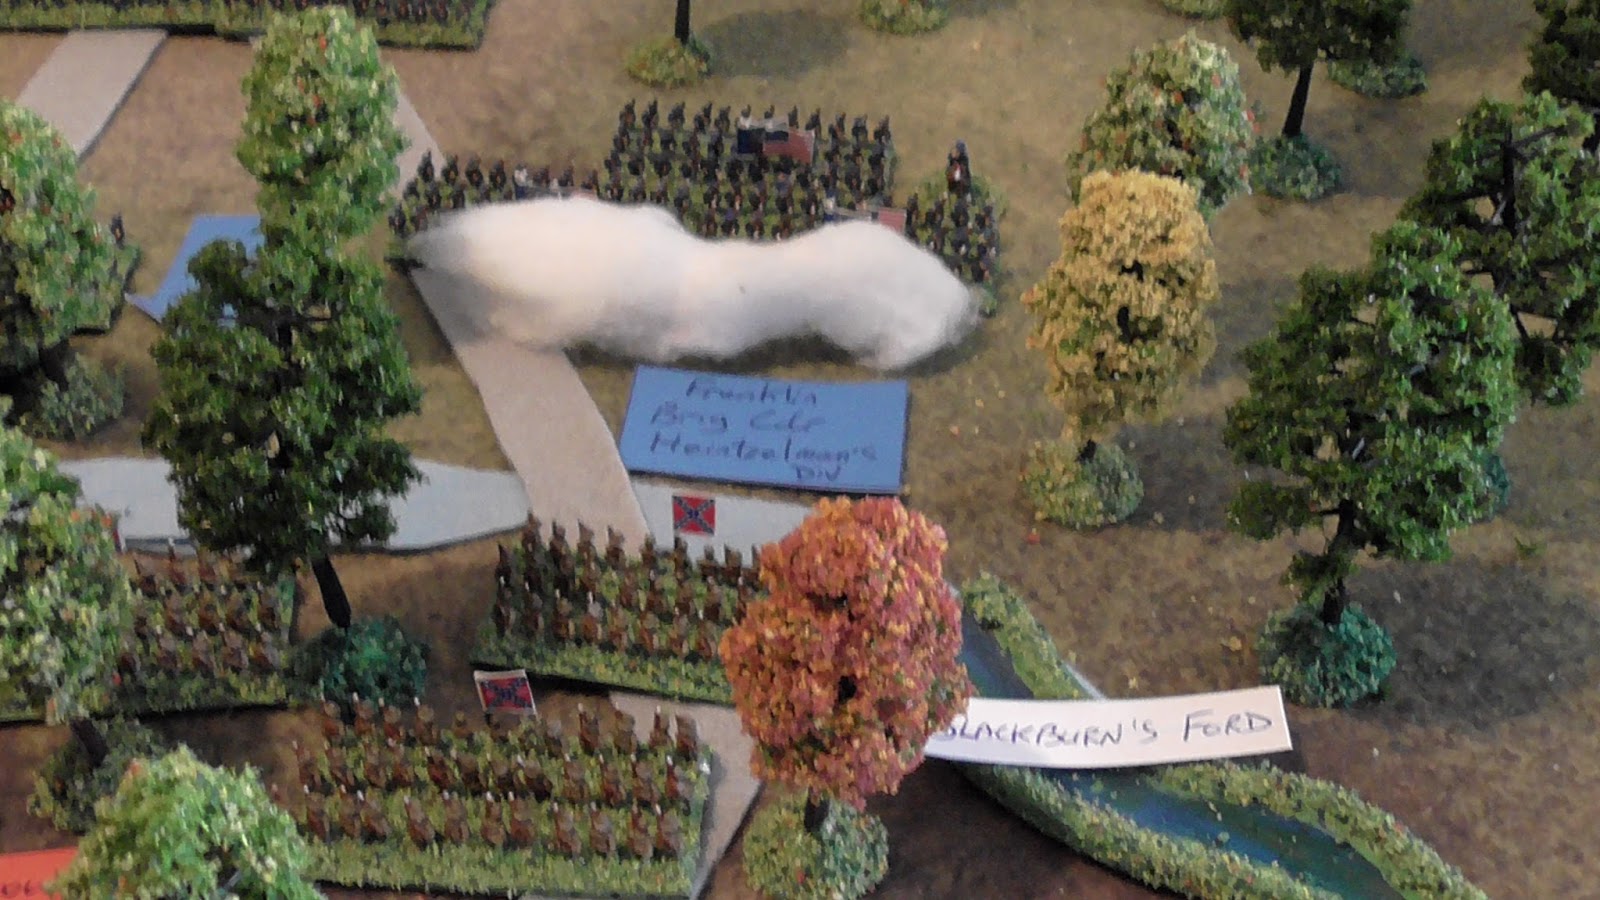
Musket balls fill the air along with clouds of powder smoke from the muskets of Franklin's Brigade.

The result is a devastating three hits of Bartow's Brigade, reducing their elan by half to just 3.

A seemingly limitless number of Union brigades are supporting the attacks.


Seeing the confusion on the hill as the artillery, now fully aware of their danger, Sherman diverts his brigade toward the hill to support the beleaguered artillerymen.

Richardson's Brigade, the very last unit of Tyler's Division and McDowell's army, finally enter the field.

Sherman's Brigade can be seen hurrying to the aid of the artillerymen as the final Union artillery battery crosses the field.

Stuart's Cavalry, break from cover and charge into the confused and shocked artillery battery.

Bartow's Brigade return fire on Franklin's Brigade but score no hits.
Close by Bee's Brigade are slightly more successful and cause one hit on Howard's Brigade.

The Union assault looks as strong as ever.

Pendleton's battery expend their final rounds of ammunition firing at the conquerors of Ball's Ford, Davies' Brigade.

Extract from a letter.
Face to face, we whipped them Rebels, man for man we bettered them and took the ford. There sure were a lot of the boys missing, but we did it and the rebels ran! At my feet the waters of the ford were stained red with the blood of both sides. We were in a poor state, and really no longer fit to continue and I think Old Man Davies was about to pull us back, when that damn artillery hit us again. We had survived and beaten flesh and blood, but we could not stand against cannon balls that we were unable to hit back at. It was too much and the boys began to run, I joined them too. We had done our best and I felt no shame as we left the ford so many had given their lives for...
Private Strombo, Davies' Brigade, Miles' Division, Union Army of Northeast Virginia.
It is too much for the brave men of Davies' Brigade, who after such a gallant effort, break and run.

Jones' Brigade unleash a weak volley on the advancing brigade of Porter, but do no damage.

Longstreet moves his brigade forward to support the weakening Jones' Brigade.

Rosser's Battery are now fully deployed on the banks of the Bull Run Creek, close to the Stone Bridge.

Ewell's Brigade also move up to support the defence of the Stone Bridge.

At the same time, Evans' Brigade move up to the now uncontested Ball's Ford.

Hmmm... a bloody feint. What a fight that was. Will be interesting to see how this develops with the main assault about to go in. This is gonna be brutal. Wow.
ReplyDelete~K
Thanks Kurtus, sure was a bloody battle with little reward for the Union, though they did tie down the Confederate troops at that end of the field. Will it be enough though?
DeleteBrilliant once again Ian. This is a superb series of inspirational posts. Can't wait to get started on my 6mm ACW project.
ReplyDeleteMany thanks Richard, I am really pleased you are enjoying the reports, and even better that you will soon be getting into your own 6mm ACW.
Delete