Using the reserve move, two brigades each of infantry and cavalry, move rapidly down the hills and across the road onto the flank of the Union division at the farm.


The artillery opposite the farm opens up and scores three hits on one brigade of infantry!

TURN TWO - Union Activation.
No point rolling for reinforcements as the earliest they can possibly arrive is turn 6.
To counter the move by the rebels, the Union cavalry brigade dismount and take up position at the edge of the wood.

The artillery scores two hits on the infantry mustering for an assault.

TURN THREE - Confederate Activation
The assault commences on the farm.

The flanking brigades also advance whilst the two cavalry brigades dismount and take up firing positions opposite the wood.

Artillery fire was ineffective.

TURN FOUR - Union Activation
Artillery battery concentrates on the central rebel brigade and misses with the lot.

On the flank of the farm, the dismounted cavalry score three hits on their opposite number, which devastates them.

TURN FIVE - Confederate Activation
All three brigades press on and reach the road.

The shattered rebel cavalry troopers are pulled out of line and one of the infantry brigades turns to face the troopers in the wood.

TURN SIX - Union Activation
Reinforcement roll = 4. No good.
The Union brigade on the right flank is forced to turn and protect the exposed flank. The other three brigades and the artillery open up on the rebel brigades. All take hits, but the central brigade is destroyed by a combination of musketry and canister fire.

Showing the drop of elan for the rebels.

The flank brigade now faces the oncoming rebels.

On this occasion the dismounted troopers score no hits.

TURN SEVEN - Confederate Activation
The shattered rebel cavalry brigade, remount and pull back to the hills.

The artillery engages in counter-battery fire, but no hits.

The brigade on the right flank fire with no effect on the defending infantry.
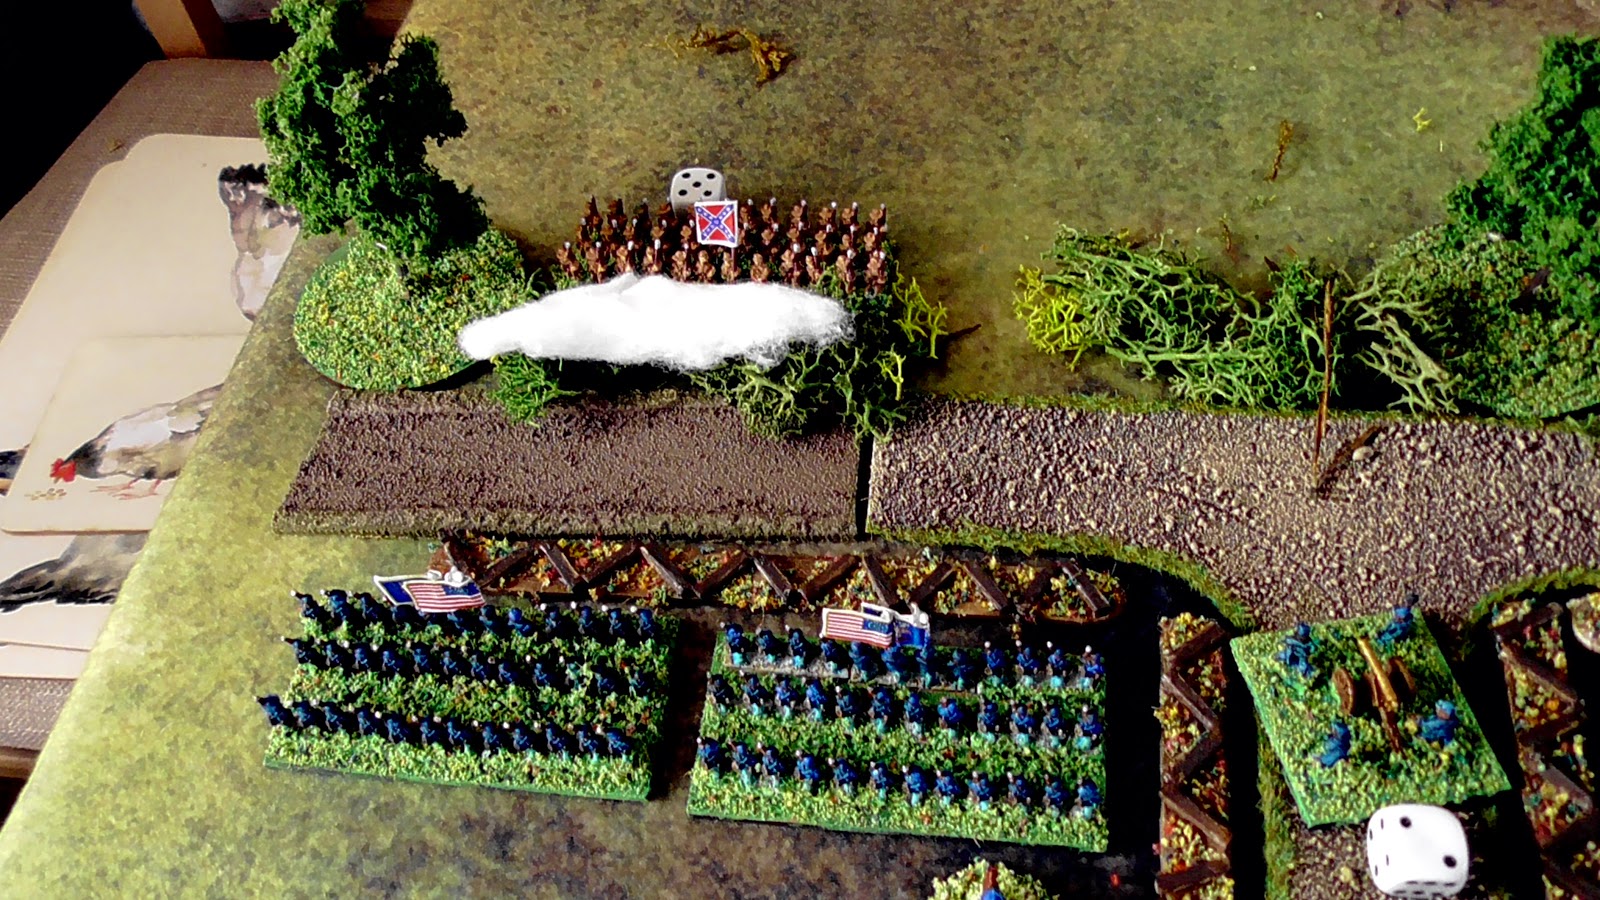
A different story on the other flank, the Union brigade taking two hits and reduced to just two elan.

A return to poor marksmanship, as the rebel brigade scores no hits.
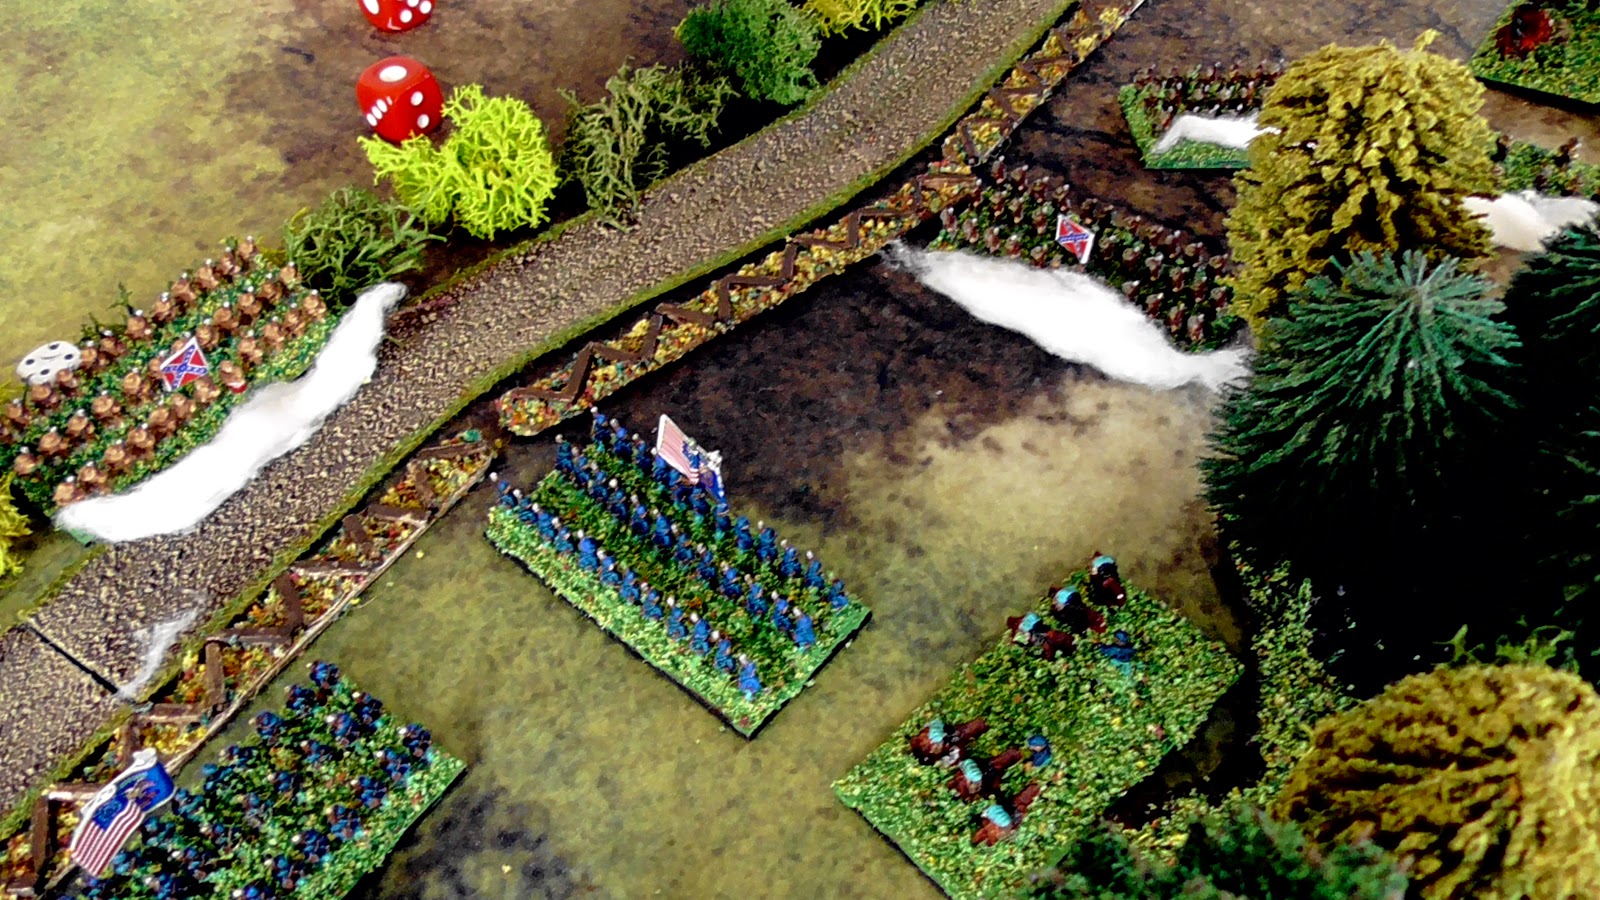
The troopers in the wood, survive unscathed by a volley from the rebel troopers, but take two casualties when hit by a volley from the infantry.

TURN EIGHT - Union Activation
Reinforcement roll = 1 Success.
The reinforcements have arrived at the edge of the table, not on it as is shown, I have just placed them there for convenience, they will appear properly next turn

Pounded by volleys from two Union brigades, another Confederate brigade is destroyed.

The final brigade of the assault also takes two hits and is down to just two elan. The attack on the farm is not going too well.

The flank brigade scores a hit on the rebels.


The dismounted troopers also have a single success against the rebel troopers.

TURN NINE - Confederate Activation
The previously unemployed rebel cavalry turn to face the new threat.

The rebel artillery engages in counter-battery fire and scores a hit.

Temporarily putting the Union battery out of action.

The last infantry brigade down to two elan, fires but misses.

On the flank, more success as musket balls drop Union troops of the flank brigade.

The tough Union troopers are finally destroyed by carbine and musketry from two units.

TURN TEN - Union Activation
The reinforcing division now deploys. Three brigades of infantry opposite the hills, the artillery and two brigades of cavalry on the flank.

With the rebel brigades ahead of them destroyed, the two Union regiments wheel and move to the flank to face what is now the main threat.

Another hit on the sole surviving infantry brigade of this division, renders it incapable of further offensive action.

A volley puts two more casualties on the faltering flank attack of the rebels.

The battlefield at the end of turn ten. The Union division at the farm is more than holding its own, the rebel division opposite it has seen all three of its infantry brigades destroyed. the troops sent to assault the flank are not doing much better either.

The Union infantry swarm over to the flank to stem the faltering rebel attack.

However, the newly arrived Union division faces a difficult task.


