Showing posts with label Colonial Fort. Show all posts

Tuesday, 26 July 2016

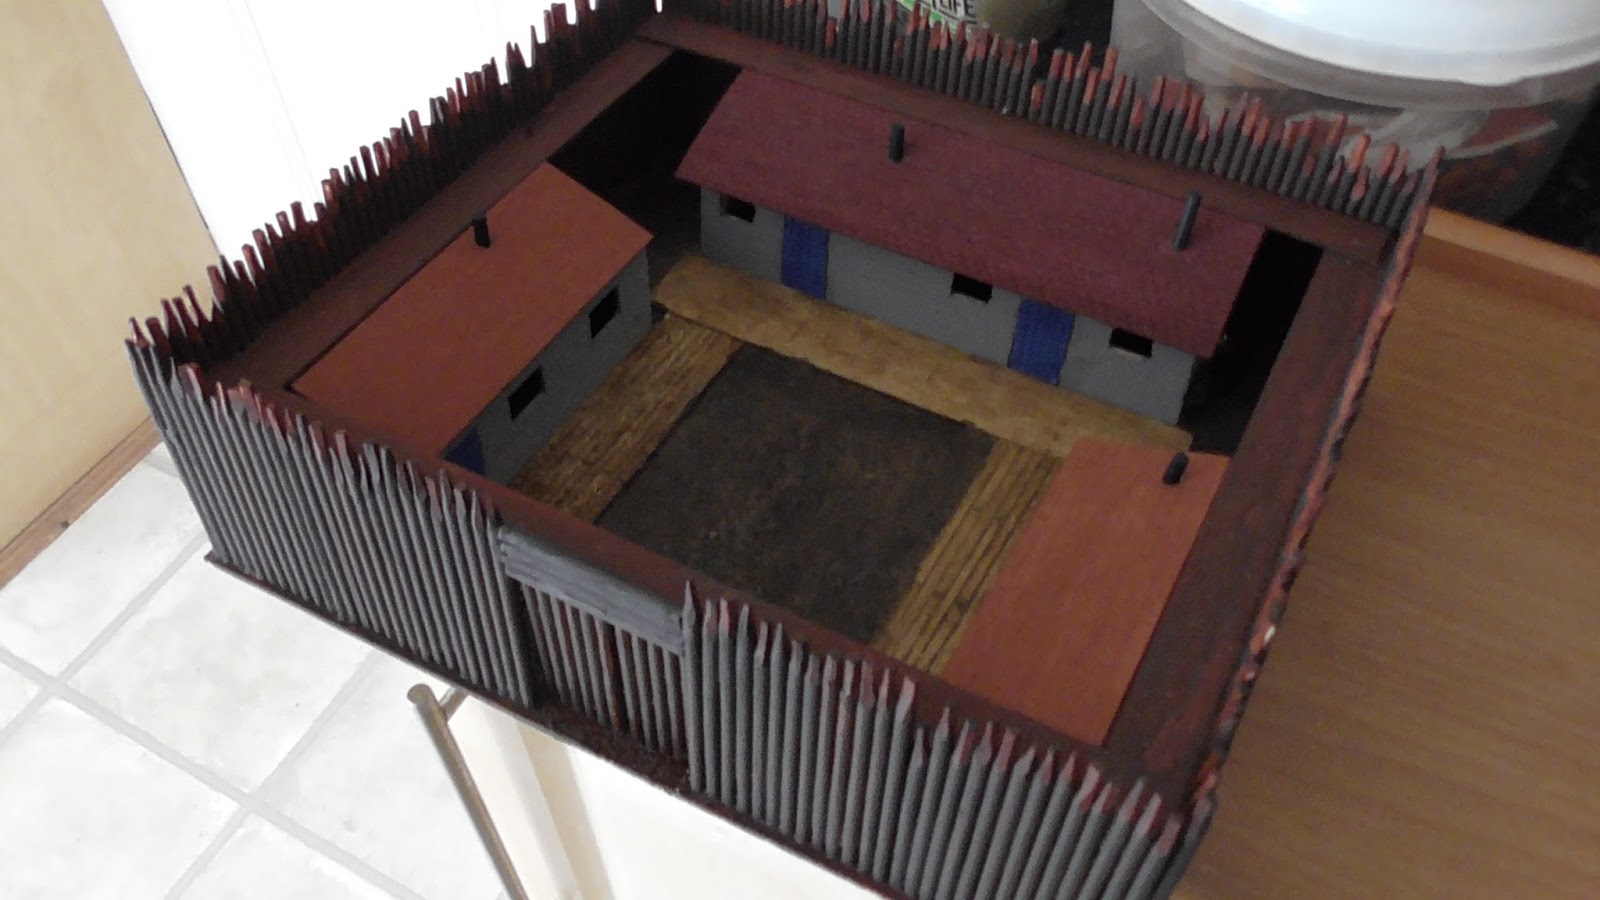
Fort now finished and ready for the table.

So this brings to an end my little scratch built fort. It has cost me under £2 to build and as well as being unique, it was fun to build. It will now be ready for when I paint up the figures to garrison it.
Many thanks for all the positive comments I have received on this mini series of blog posts. I hope you enjoyed it as much as I did.


Using the tray again to give me a level both vertically and horizontally. The blue tack is used to keep the logs packed tight as the glue dries.


Exactly the same treatment for the other gate, this is made of five posts as opposed to the six of the other gate. It had to be that way to fit the opening.


I also put textured paint down inside the fort, to simulate the packed earth.


Those plank walkways will be well used during the muddy season!


I also took the opportunity to stain the floor of the cabins, the roofs are all removable to allow for the placing of troops inside, if the rules allow for it.


The final act was to try the gate, dry fitted here.


Again a dry fit and partly opened.


I made some hooks and eyes out of 30 amp fuse wire to attach the gates.


Attached in position, that was a giggle fitting them, NOT!


But the plan worked and the gates in the open position.


Closed to keep the enemy at bay.


I am going to call that complete! It still needs a flag pole to finish it off at some point in the future.

Monday, 25 July 2016

The fort nears completion.

I have added the two final buildings to the fort, also plank walkways outside the doors. I imagine the centre, though packed down earth, could get a little muddy at times. It would be great to grass that area, but of course soldiers drilling and marching would soon get rid of any vegetation. So it will have to be textured in some way. I am now pondering on how to fit the gates, I am thinking along the lines of a paper clip ring and two hooks on each gate post to allow them to be opened and closed.


Cutting the hut out of balsa and a dry fit.


The same with the other hut.


The sides of the building help to support the walkway above.


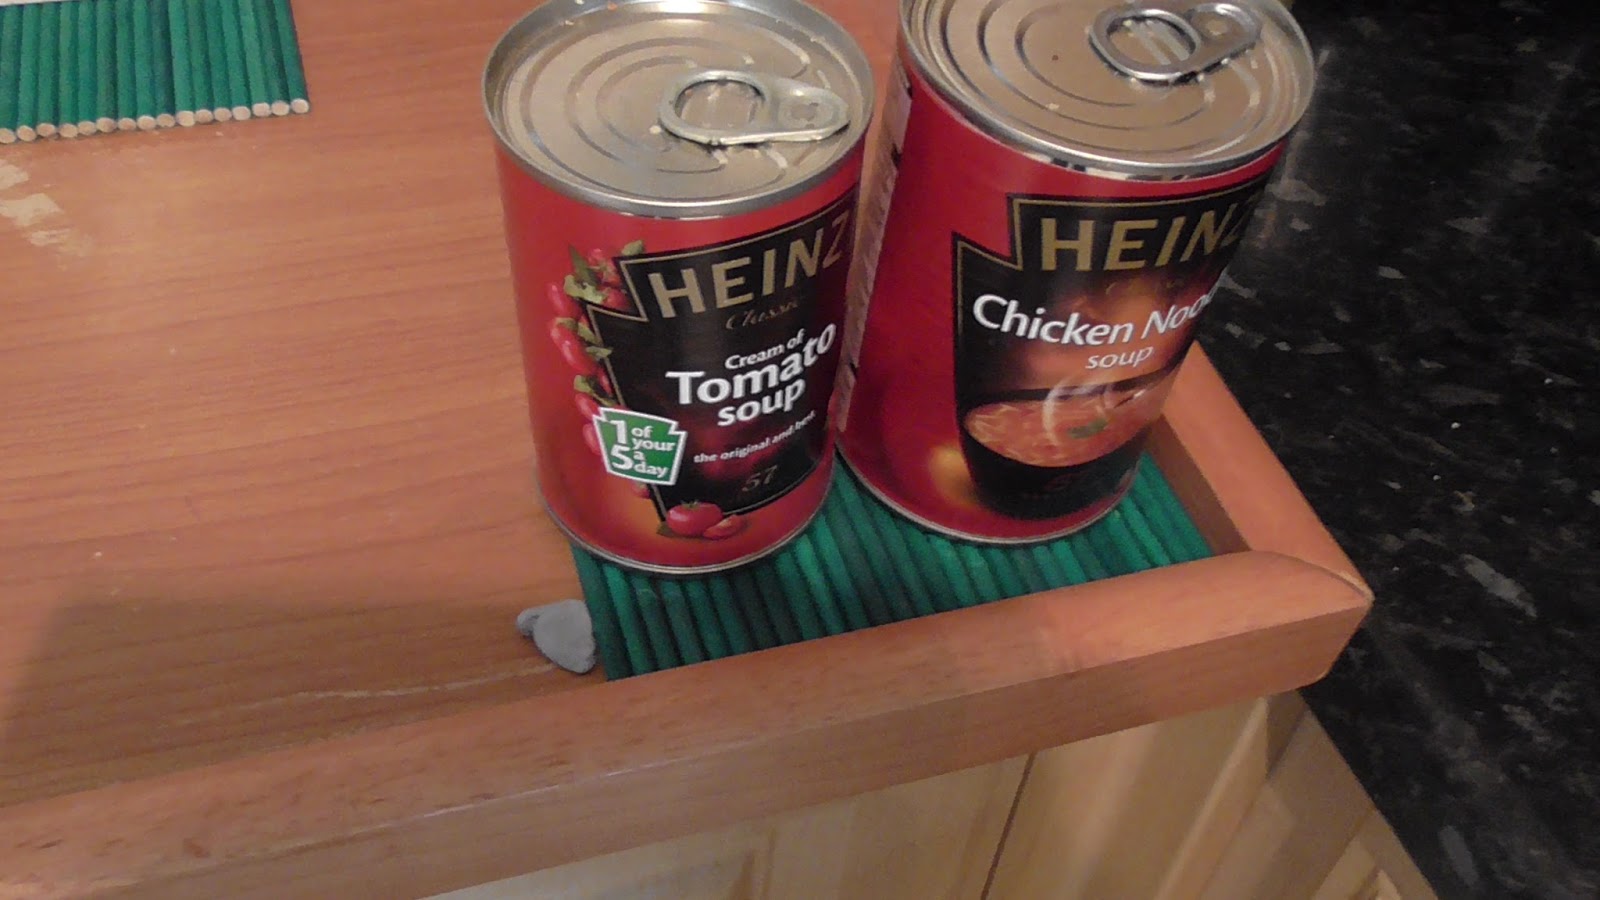
The cans of soup and tomatoes come in handy again in the PVA drying process.


Two cans for the larger hut.


First one almost complete, the stove pipe needs a coat of black.


Hut number two also virtually finished.


Still plenty of room in the centre for parading the troops.


Some shots taken outside, you can also see the two new plank walkways outside the new huts, they now link in with the original.


A top down shot, shows plenty of area in the centre.

Sunday, 24 July 2016

Further progress on the fort.

Well, I have spent a lot of time on the fort today, or yesterday as it is now at 2:45 am, damn heartburn! So whilst I am sat here waiting for it to pass, I may as well occupy my mind and show what I have accomplished  so far.


The whole structure is now complete, the logs placed above the gateway being the final addition.


I then went round each individual palisade log and made sure PVA glue was in the cracks between each of them. This will give the structure even more rigidity.


At this point all the glue is drying outside in the warmth.


A pretty small fort, but at a foot square, it will be more than big enough for my table.


I gave the palisade walls two coats of Mocha acrylic paint and then dry fitted some balsa pieces to make a building with two rooms. Commanders quarters and officers mess perhaps.


Painted the doors blue and the walls grey. Also scored the walls to look like boards/planks.


A roof from very thin balsa upon which, I scored the tiles and added a couple of stove pipes. The roof is removable, but is quite fragile, so I may end up having to make a one from thicker material.


Peering in through the gateway, you can just make out the boarding on the building.

I may add another building along one side, not sure yet. I also want to place some planking or similar outside the building(s). The rest of the base will need to be textured to resemble packed earth, plus of course I need to build and fix a pair of gates. So far, this project has cost me less than £2, I had to buy another two packs of garden plant sticks, which I cut down for the palisade.

The fort continues to take shape.

I have done some more work on the fort today, cutting 100 mm lengths of garden stakes and then sharpening one end. I then again used my tray to keep everything square and built the other walls. It is of course only held together with PVA (white wood glue) so it is going to need extra strengthening pieces added, but the outer walls are now attached to the base, with a gap for the gate.


The second wall section constructed on the tray.


Third wall constructed, glued and drying, I didn't realise we had so much soup in the cupboard!


Rear and two side walls complete.


First of the two front wall sections.


The second section of the front wall, a bit more tricky as I have left a gap for the gate.


All the pieces now glue together and drying. I also added the walkways to give more gluing area to hold it all together. I will be putting polyfilla (spackle) all around the base, inside and out, to anchor the bases of the walls.


The walkway is about 25 mm wide so should take a soldier on its base without a problem.


So far, so good. I am quite pleased with how it is looking so far. A lot of work still to be done of course, but it should make a nice piece of scenery for the war gaming table eventually.

So that is the position at the end of the afternoon, I am thoroughly enjoying myself building this and I hope to be able to add the polyfilla/spackle at the base of the four walls this evening to allow it to dry thoroughly overnight. I am hoping to put a building or two inside, probably attached to the palisade fences as this will also help the strengthen the structure.

Saturday, 23 July 2016

I fort I would do something else for a change.

Another scorcher of a day here in the UK, too nice to be indoors and too hot for painting as the paints dry up as soon as they hit the palette. So, as I have my American War of Independence box set to tackle later in the year, I decided that building a fort, suitable for that conflict and the French & Indian Wars would be a nice project for today.

I had all the bits and pieces I needed kicking around in the shed, a piece of hardboard, some balsa battens and strips, and a couple of packs of bamboo sticks which are intended for use in the garden supporting plants etc. A drop of PVA glue and a sharp knife means that the project has really cost me nothing so far.

I don't have a plan as such and am simply winging it, hopefully it will turn out OK. May even be able to add some log buildings inside, we shall see.


A piece of hardboard roughly 13 inches by 12 inches for the base, with some balsa battens glued down with PVA (white wood glue).


My idea is to build the walls/palisades separately and butt them up to the battens.


I then started to cut the bamboo sticks into roughly 100 mm lengths (4 inches), sharpening one end slightly to resemble axe workings. The green will have to go and once the walls are built I will paint and stain them.


I cut about 90 of these, thinking that would be enough. Wrong! one side took about 50 alone, so a lot more cutting and sharpening tomorrow.


I used a tray with a lip to lay out one wall of palisade fencing. This gave me a good right angle, so hopefully each piece will not only be flush on the base but also vertical too. Just a single batten to hold it all together until joined to the base. A walkway will sit on the batten later. The three pieces of Blu-Tack are simply to keep the pieces tightly together, and a three tins of soup made excellent weights on the batten.


One completed wall section, so far so good.